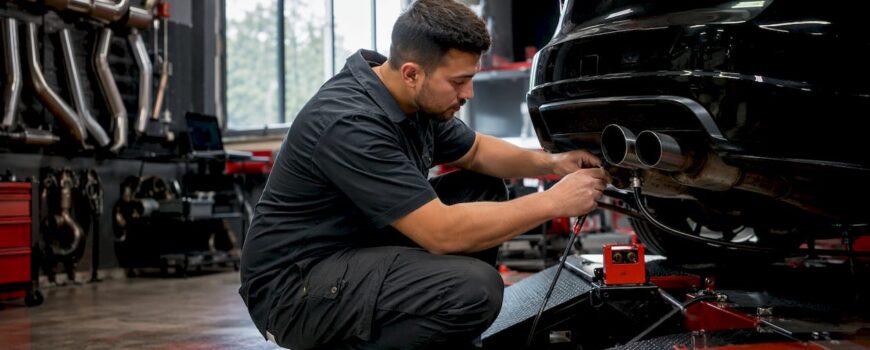
A dyno test is the only honest way to know whether your exhaust upgrade actually moved the needle. You get real numbers: horsepower, torque, air-fuel ratio (AFR), and ignition timing, all measured under controlled, repeatable conditions. Without a baseline pull and a post-upgrade pull to compare, you are guessing. A dynamometer removes the guesswork by loading the drivetrain and recording output at the wheels or at the engine itself, giving you a before-and-after picture that no seat-of-the-pants impression can replicate.
Two dyno types matter here. An engine dyno connects directly to the crankshaft, isolating engine output from drivetrain losses. A chassis dyno measures power at the driven wheels, capturing real-world losses through the transmission, driveshaft, and differential. For exhaust upgrade evaluation, a chassis dyno is usually the practical choice: the car stays assembled, the full exhaust system runs as it will on the street, and back-to-back runs are fast. Engine dynos are more common in professional engine-building shops and offer tighter control, but they require pulling the engine.
Key metrics to watch during any exhaust-focused dyno session:
- Horsepower (hp): Peak output and the shape of the power curve across the rev range
- Torque (lb-ft): Often more telling than peak hp, especially in the mid-range where you actually drive
- Air-fuel ratio (AFR): Indicates whether the engine is running lean or rich after the exhaust change
- Ignition timing: Reveals whether the ECU is pulling timing due to knock or running optimally
- Exhaust gas temperature (EGT): A secondary indicator of combustion efficiency and heat stress
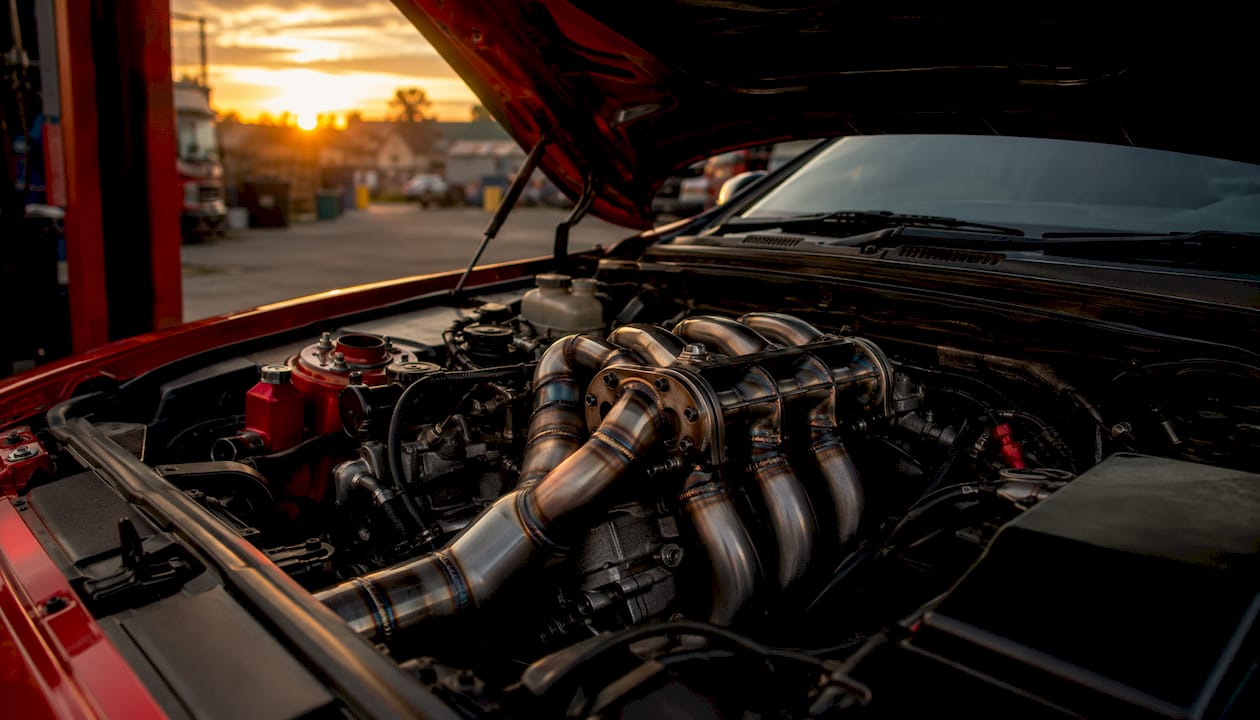
Exhaust upgrades affect these metrics by reducing backpressure and improving flow. Less restriction means the engine expels spent gases more easily, which can free up power, improve turbo spool on forced-induction engines, and shift the torque curve. The degree of improvement depends heavily on which part of the exhaust you change, a point the rest of this guide covers in detail.
How does dyno testing work for exhaust upgrades?
Engine dyno vs. chassis dyno
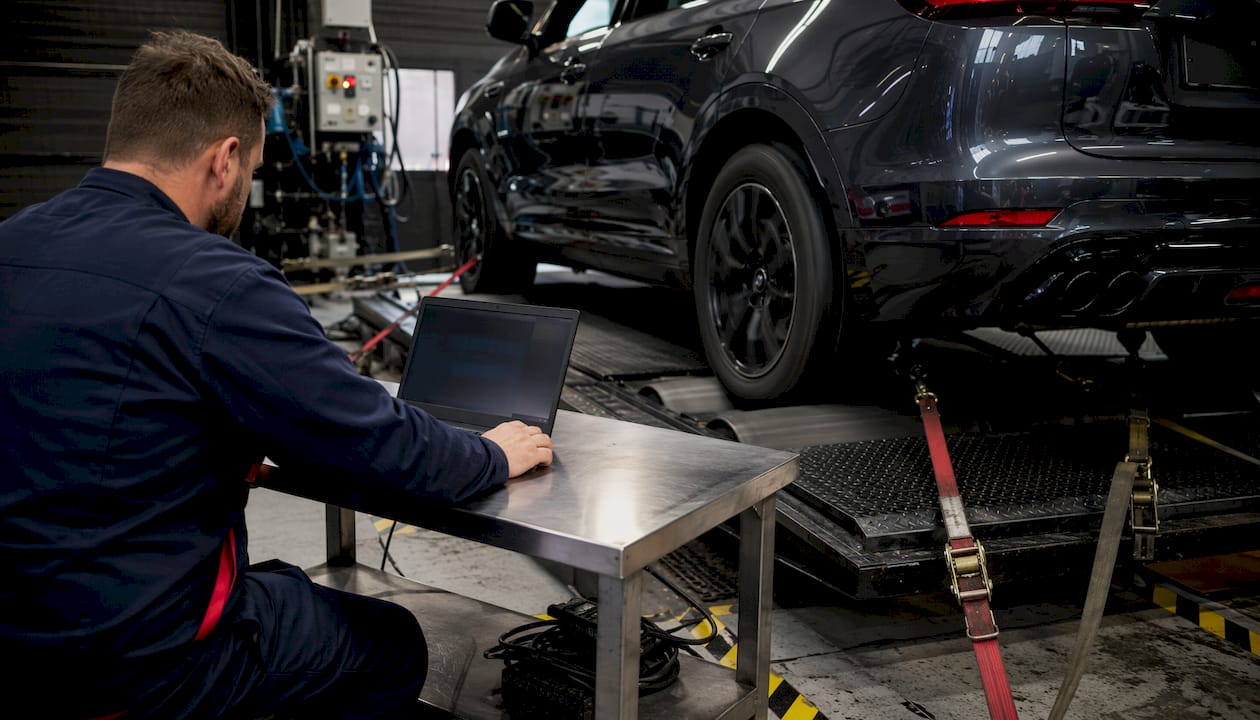
For exhaust testing, the chassis dyno wins on practicality. The car rolls onto rollers, the wheels spin against a load cell, and the operator runs the engine through its rev range in a controlled sweep. Results reflect what the drivetrain actually delivers, which is the number that matters to a driver. Engine dynos offer more precision and eliminate drivetrain loss variables, but they are overkill for most bolt-on exhaust evaluations.
The step-by-step dyno process
A well-run session follows a clear sequence:
- Baseline runs: Three pulls on the stock exhaust, averaged to account for heat soak and run-to-run variation
- Exhaust installation: Swap the component being tested, inspect for leaks, and let the system reach operating temperature
- Post-upgrade runs: Three more pulls under identical conditions, same gear, same RPM sweep, same coolant temperature
- Data overlay: The operator plots both runs on the same graph so you can see gains or losses across the entire rev range, not just at peak
Metrics and what they reveal
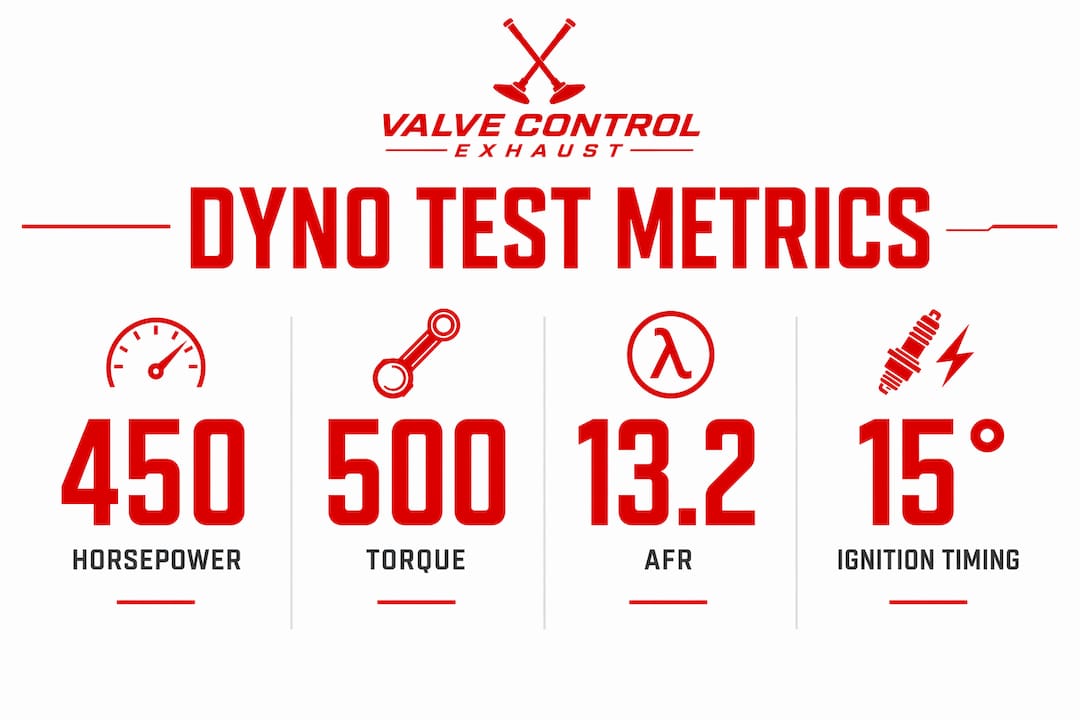
A dyno test measures horsepower, torque, AFR, and ignition timing simultaneously, which is why it is the standard tool for validating any performance modification. Watching AFR during a pull tells you whether the ECU is compensating correctly for the new exhaust flow. A lean spike after an exhaust swap is a warning sign that tuning is needed before you drive hard.
Environmental controls
Ambient temperature, humidity, and barometric pressure all affect dyno results. Reputable shops apply a SAE J1349 or DIN 70020 correction factor to normalize readings to a standard atmosphere. Always confirm your shop uses a correction standard, and run your baseline and post-upgrade pulls on the same day to eliminate weather as a variable.
| Metric | What it shows | Target after exhaust upgrade |
|---|---|---|
| Peak horsepower | Maximum engine output | Increase, especially on turbo engines |
| Torque curve shape | Power delivery across RPM range | Broader mid-range, not just peak shift |
| AFR at WOT | Combustion mixture quality | — |
| Ignition timing | ECU knock response | Stable or advancing post-upgrade |
| EGT | Heat stress on components | Reduction indicates improved flow |
What should you do before arriving at the dyno?
Preparation separates a productive dyno day from an expensive waste of time. Show up with a car that is mechanically sound, and you will get clean data. Show up with a misfiring plug or a boost leak, and the numbers will tell you nothing useful about the exhaust.
Mechanical checks to complete before dyno day:
- Inspect all exhaust joints, flanges, and clamps for leaks. Even a small leak corrupts AFR readings.
- Check spark plugs and replace any that are worn or fouled.
- Verify coolant, oil, and brake fluid levels.
- Confirm tire pressures are consistent across all four corners.
- Run a diagnostic scan and clear any pre-existing fault codes.
- Check intercooler hoses and couplers on turbocharged cars for cracks or looseness.
Planning your test runs:
Know exactly which exhaust component you are testing and keep everything else on the car unchanged between baseline and post-upgrade pulls. If you swap the downpipe and the intake on the same day, you cannot attribute any gain to either part specifically. Test one variable at a time.
ECU tuning after exhaust mods changes the environment the ECU was calibrated for, so plan whether you want a raw hardware-only comparison first or a fully tuned result. Both are valid, but they answer different questions. A raw comparison shows what the exhaust hardware alone contributes. A tuned result shows the maximum the combination can achieve.
Pro Tip: Book your dyno session for the morning. Cooler ambient temperatures produce denser air and more consistent results, and the dyno itself has not heat-soaked from a full day of other cars.
Safety on the dyno is straightforward but non-negotiable. Secure all loose items in the car, keep bystanders clear of the rollers, and follow the operator’s instructions on when to apply throttle. Never exit the car during a pull.
How do you interpret dyno results after an exhaust upgrade?
Reading the power curve, not just the peak
Peak horsepower is the number that gets quoted in forums, but the shape of the torque curve tells you far more about how the car actually drives. A broad, flat torque curve means strong pull from low RPM through the mid-range. A narrow spike at high RPM means the engine only comes alive near redline. After an exhaust upgrade, look for the curve to widen or shift left, indicating that torque arrives earlier in the rev range.
Interpreting dyno results requires focusing on torque curves and consistency rather than isolated peak figures, which can be misleading without repeatability across multiple runs. If your three post-upgrade pulls vary by more than a few horsepower, something is inconsistent: heat soak, a loose connection, or an AFR that is hunting.
AFR and timing adjustments
A well-flowing exhaust changes how exhaust gases exit the combustion chamber, which the oxygen sensors detect. On a closed-loop system, the ECU will try to compensate, but it has limits. If AFR readings at wide-open throttle (WOT) shift lean after the exhaust swap, the engine is not getting enough fuel for the new flow conditions. That is the signal to schedule a tune before adding more power. Ignition timing tells a parallel story: if the ECU is pulling timing to prevent knock, you are leaving power on the table.
Common patterns indicating improved flow
- Torque gains concentrated in the mid-range, typically 2,500–4,500 RPM on most street engines
- AFR staying stable or moving slightly richer at WOT, indicating the engine is breathing more freely
- EGT dropping slightly, showing combustion gases are exiting faster
- Turbo spool RPM decreasing on forced-induction engines
Pitfalls to avoid
A louder exhaust does not automatically mean more power. Improperly sized exhaust systems that lack proper scavenging can actually reduce low-end torque even while sounding more aggressive. If your post-upgrade torque curve dips below baseline in the low RPM range, the pipe diameter may be too large for your engine’s displacement, or the system lacks adequate backpressure for scavenging at low speeds.
| Configuration | Typical hp gain | Torque impact | AFR change | Notes |
|---|---|---|---|---|
| Cat-back only (NA engine) | Minimal | Minimal | Stable | Primarily a sound modification |
| High-flow cat + cat-back (NA) | Moderate | Moderate mid-range gain | Slight lean shift | Benefits from tune |
| Downpipe + cat-back (turbo) | Noticeable | Strong mid-range gain | Lean shift likely | Tune strongly recommended |
| Full turbo-back + tune | Largest | Broad curve improvement | Optimized with tune | Maximum bolt-on gain |
What does real dyno data show across exhaust configurations?
A documented test on a twin-turbo V8 diesel Toyota LandCruiser 200 Series illustrates what dyno testing actually reveals. Stock, the vehicle produced 166 kW and 620 Nm at the wheels. After fitting a 3-inch stainless steel performance exhaust with no ECU tuning, output climbed to 178 kW and 670 Nm at the wheels. The gains were concentrated in the mid-range, where the turbos spooled faster due to reduced exhaust restriction. Throttle response sharpened noticeably, and EGTs dropped, which matters for long-haul towing durability.
That test also confirmed a consistent pattern: the exhaust upgrade alone moved the numbers, but pairing it with ECU tuning pushed output past 200 kW and 750 Nm. The hardware opens the door; the tune walks through it.
On the component selection side, downpipes and high-flow catalytic converters tend to deliver the largest dyno gains on turbocharged engines by removing upstream restriction. Cat-back systems, by contrast, mostly affect sound on turbo cars. That distinction shapes how you plan your upgrade and what gains you should realistically expect on the dyno.
| Exhaust setup | Baseline power | Post-upgrade power | Torque change | Sound character |
|---|---|---|---|---|
| Stock system | 166 kW / 620 Nm | — | — | Quiet, refined |
| 3-inch performance exhaust (no tune) | 166 kW / 620 Nm | 178 kW / 670 Nm | +50 Nm | Deeper, controlled |
| Performance exhaust + ECU tune | 166 kW / 620 Nm | 200+ kW / 750+ Nm | Broad curve gain | Aggressive, purposeful |
Key lessons from this and similar tests:
- Exhaust sizing matters. A 3-inch pipe on a diesel V8 hits the sweet spot between flow and scavenging. Going larger without a tune to match can flatten the low-end curve.
- Sound and power are not the same variable. The upgraded system in this test produced a deeper tone without becoming intrusive at highway speeds, because the design balanced flow with acoustic tuning.
- Oxygen sensor placement and catalyst volume directly affect whether the ECU triggers fault codes after the swap. A quality high-flow catalytic converter with adequate oxygen storage capacity retains OBD-II readiness and avoids check engine lights.
- Durability shows up in the data too. Lower EGTs after the upgrade translate to less heat stress on seals, gaskets, and turbo components over time.
What Valvecontrolexhaust knows about dyno testing and system tuning
Valvecontrolexhaust approaches dyno testing as a validation tool, not a marketing exercise. The brand’s valve-actuated exhaust systems are designed specifically for high-performance platforms like BMW, Audi, Ferrari, and Lamborghini, where the relationship between exhaust flow, sound, and ECU calibration is tightly integrated. On the dyno, that integration becomes measurable.
The core technology is an adjustable valve within the exhaust path. In the closed position, the valve routes exhaust through baffling that reduces volume and maintains backpressure characteristics close to stock. In the open position, it allows full flow, which the dyno captures as a distinct shift in the power and torque curves. This means a single system can be tested in two modes on the same dyno session, giving the owner real data on the performance trade-off between street-friendly and full-performance configurations.
What Valvecontrolexhaust’s approach reveals about dyno testing:
- Valve position at the time of the dyno pull must be consistent across baseline and post-upgrade runs. Testing with the valve open on one run and closed on another produces incomparable data.
- ECU recalibration after fitting a valved system captures the full gain. Changing exhaust hardware alters the environment the ECU was calibrated for, and tuning optimizes air-fuel maps and ignition timing to maximize what the new flow conditions allow.
- Fitment precision affects dyno results. A system that seals correctly at every joint and positions oxygen sensors accurately produces clean AFR data. A poor fit introduces exhaust leaks that corrupt readings and can trigger false fault codes.
- Construction material influences long-term dyno consistency. Systems built from 304-grade stainless steel maintain their flow characteristics over time, so a dyno run at 10,000 miles reflects the same hardware performance as the initial test.
Valvecontrolexhaust’s valved exhaust systems are designed so that the performance difference between valve modes is measurable on a chassis dyno, not just audible from the driver’s seat. That measurability is the point. When you can quantify the difference between a quiet daily-drive setting and a full-performance open-valve pull, you are making decisions based on data rather than impression.
Technical note: On turbocharged platforms, the open-valve configuration reduces turbine backpressure, which lowers the drive pressure the turbo works against. The dyno captures this as earlier spool and a torque curve that builds more aggressively from lower RPM. The critical analysis of valved systems confirms that catalyst volume and sensor positioning must be preserved to maintain emissions compliance alongside these performance gains.
An integrated tuning approach following a valved exhaust installation follows a clear sequence: dyno baseline in stock configuration, install the system, dyno in both valve modes, then schedule ECU recalibration targeting the open-valve flow characteristics. That sequence gives you a complete picture of what the hardware contributes and what the tune adds on top.
Key Takeaways
A dyno test is the definitive method for validating exhaust upgrade performance, measuring horsepower, torque, AFR, and ignition timing under controlled, repeatable conditions that eliminate guesswork.
| Point | Details |
|---|---|
| Chassis dyno for exhaust testing | Chassis dynos keep the car assembled and allow fast back-to-back runs, making them the practical standard for exhaust evaluation. |
| Torque curve over peak numbers | A broader mid-range torque curve indicates genuine flow improvement; peak horsepower alone can be misleading without curve context. |
| Real-world case data | A 3-inch exhaust upgrade on a LandCruiser 200 Series produced 178 kW and 670 Nm versus a stock 166 kW and 620 Nm before any ECU tuning, as measured at the wheels. |
| ECU tuning unlocks full gains | Exhaust hardware changes the flow environment the ECU was calibrated for; tuning air-fuel maps and timing captures the remaining performance. |
| Valve position consistency | When testing valved exhaust systems, valve position must stay identical across all baseline and post-upgrade pulls for valid data comparison. |