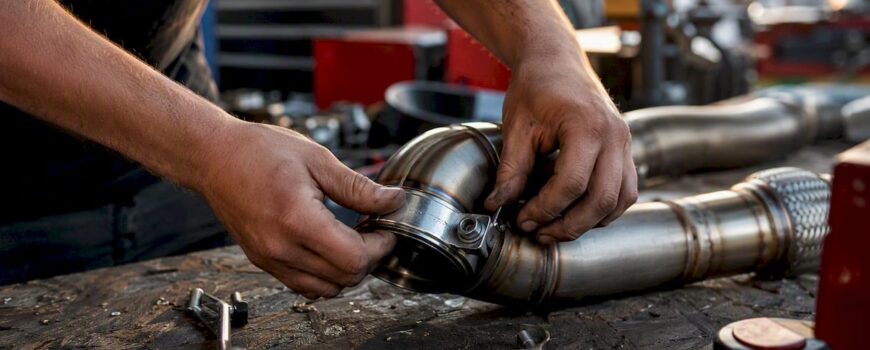
Most exhaust upgrade failures trace back to six mistakes: wrong pipe diameter, reused gaskets and hardware, sloppy sealing or welds, incorrect hanger placement, ignoring valve actuator alignment, and chasing exhaust note over actual performance. Fix these before you touch a wrench, and you’ll skip the comeback visit.
- Measure your current pipe diameter and compare it against the manufacturer’s flow spec before ordering parts
- Buy new gaskets and clamps for every connection you open, no exceptions
- Pressure-test the finished system for leaks before your first drive
- Check hanger alignment and clearance with the exhaust cold and hot
- Confirm valve actuator response on any electronically controlled system before it leaves the shop
Pro Tip: Coat every flange bolt thread with anti-seize before torquing. It costs very little time and can prevent a snapped stud later when you need to service the system again.
Key Takeaways
Most exhaust upgrade failures come down to mismatched pipe diameter, reused hardware, and skipped leak testing, all of which are preventable with a proper post-fit check.
| Point | Details |
|---|---|
| Size pipes to the engine | Match diameter to output and RPM range instead of oversizing for looks or sound. |
| Never reuse gaskets | New gaskets and hardware prevent the leaks that trigger Check Engine Lights and O2 sensor faults. |
| Pressure-test before driving | Use a soapy-water test up to 5 PSI to confirm every joint seals before the first drive. |
| Respect thermal growth | Place flex and slip joints where the pipe actually expands, not wherever is convenient. |
| Choose a valved system built right | Valvecontrolexhaust engineers actuator alignment and sealing into fitment for model-specific valved exhausts. |
Table of Contents
- Common Exhaust Upgrade Mistakes and How to Fix Each One
- Diagnostics and Testing After Installation
- When to Hire a Professional Instead of DIY
- Validating Your Gains: Dyno Testing and Common Tuning Traps
- A Valved Exhaust Built for Control, Not Guesswork
- Frequently Asked Questions
- Sources
Common Exhaust Upgrade Mistakes and How to Fix Each One
Exhaust work looks simple until you’re the one holding the pipe cutter. Here’s what actually goes wrong, in the order technicians see it.
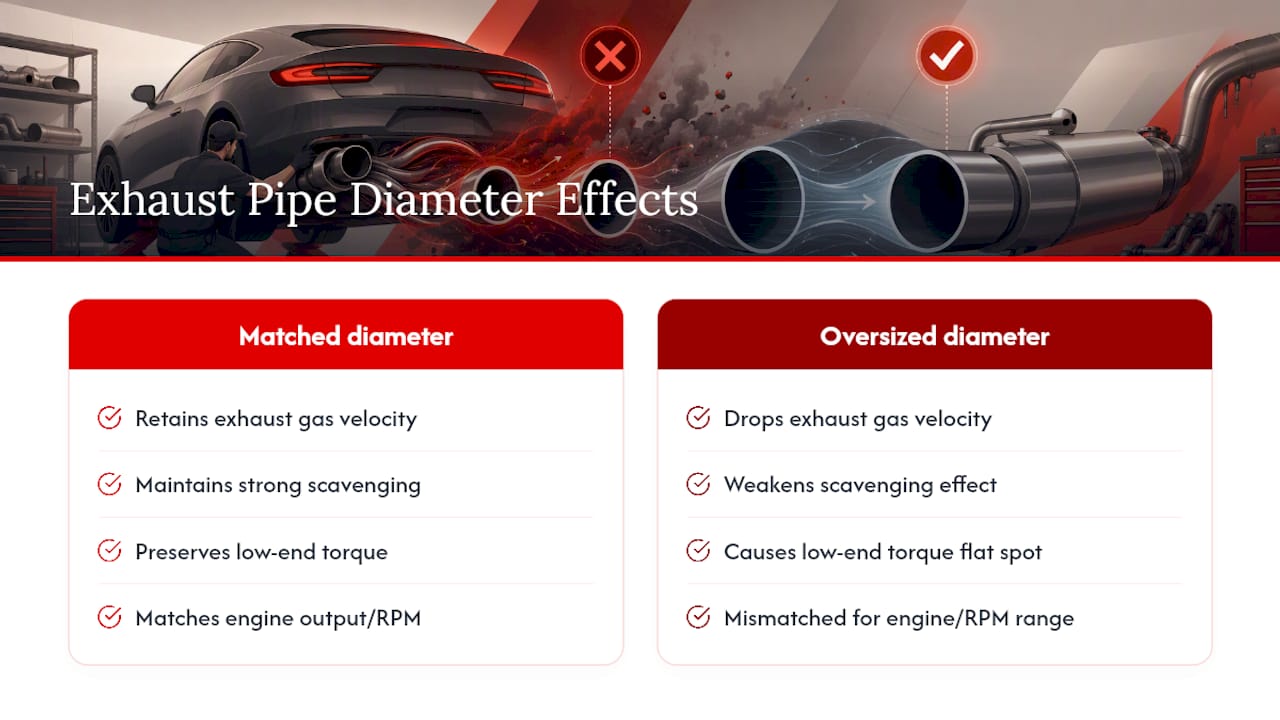
1. Wrong pipe diameter for the application. Bigger isn’t automatically better. Oversized piping drops exhaust gas velocity, which weakens the scavenging effect that pulls spent gases out of the cylinder efficiently. The result is often a flat spot in low-end torque even though the car sounds more aggressive. Match pipe diameter to your engine’s actual output and RPM range, not to what fits on the underbody.
2. Chasing sound instead of function. A resonator deleted for volume can introduce drone at highway cruising RPM that makes long drives unbearable. Muffler selection needs to account for cabin resonance frequencies, not just peak decibel output. MotorTrend’s breakdown of exhaust tuning notes that a muffler doesn’t just quiet a system. It changes the effective tuned length of the pipe and can alter scavenging behavior if picked without regard to the rest of the setup.
3. Cutting corners on materials. Mixing 409 stainless steel with 304 stainless steel in the same system invites galvanic corrosion at the joints. Cheap mild steel piping will rust through in a few winters if you’re anywhere that salts roads. Pick one grade and stick with it end to end.
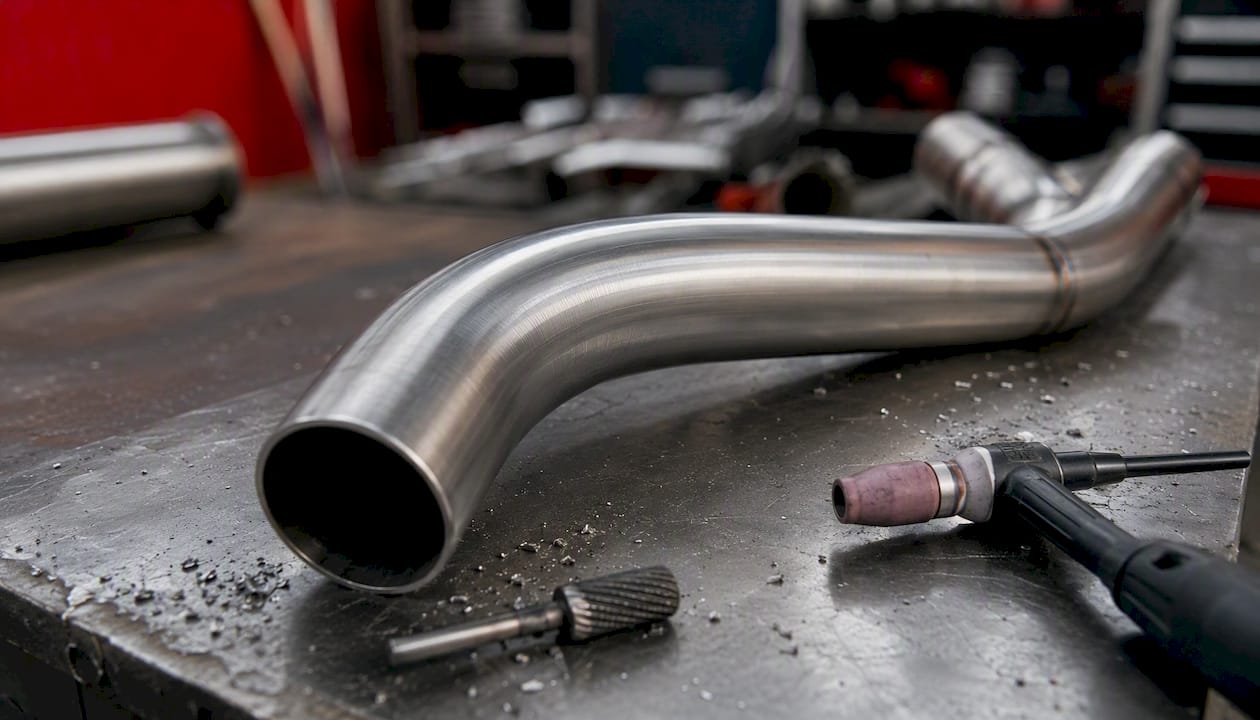
4. Poor weld prep and bad bends. Crush bends restrict flow at every turn because they pinch the inner diameter. Mandrel bending preserves that diameter through the curve, and proper fabrication technique including deburred cuts and TIG welding reduces the turbulence and stress points that cause premature cracking under heat cycling.
5. Wrong flex-pipe placement. Exhaust systems grow several inches from cold to hot. Skip the slip joints or place the flex section too close to a mounting point, and thermal expansion has nowhere to go except into a cracked weld.
6. Reusing gaskets and hardware. This is the single most avoidable mistake on this list. Gaskets are engineered for one compression cycle. Reused hardware and old gaskets are a primary cause of exhaust leaks that trigger Check Engine Lights and throw false oxygen sensor readings, sending you back into the shop for a fix that costs less than a fast food combo meal.
7. Poor sealing at flanges and clamps. Installer checklists agree that sealing is not optional and hardware is not the place to save five dollars. Use a torque wrench and follow the spec, don’t just crank until it feels tight.
8. Incorrect hanger placement. Insufficient isolation transmits vibration directly into the pipe, and over thousands of miles that vibration cracks welds and fatigues brackets. Hangers need to sit where the factory or fabricator intended, not wherever was convenient during install.
9. Ignoring valve electronics on active exhaust systems. Motorized valved systems depend on precise actuator alignment. Get the seating wrong and you’ll see mode faults or a MIL that has nothing to do with the engine itself.
10. Skipping validation after the install. A system that “sounds right” isn’t the same as one that’s actually performing right.
Pro Tip: When tightening a multi-bolt flange, work in a star pattern and go around twice at increasing torque. Tightening one bolt fully before moving to the next warps the flange and guarantees a leak.
Watch for emissions triggers, too. Removing catalytic converters or high-flow cat swaps can violate local emissions rules depending on where you drive, so check your regulations before cutting anything out of the system.
Diagnostics and Testing After Installation
Run these checks before you call the job done. Start with a visual pass: clamp orientation, gasket seating, and witness marks where carbon might be escaping a joint.
- Pressurize the system to no more than 5 PSI and brush soapy water on every joint, watching for bubbles. OEM diagnostic guidance uses this exact method to confirm leaks that trigger codes like P013C before moving to powertrain diagnostics.
- Listen for a hiss or ticking at idle near every connection.
- Scan for stored codes. An exhaust leak upstream of an oxygen sensor skews the air-fuel reading the sensor reports, which can set a code that has nothing to do with the sensor itself.
- On valved systems, cycle through drive modes and confirm the actuator moves and holds position without a mode-unavailable message.
Pro Tip: If a leak only shows up after the pipe heats up and expands, it’s almost always at a flex joint or slip joint that wasn’t seated fully cold. Recheck those first.
Installation Time and Cost Expectations
A DIY cat-back swap runs two to four hours for someone with basic tools and lift access. A full system with header work or valved components can take a shop six to ten hours, sometimes more with custom fabrication.
- Mandrel-bent stainless and TIG welding add labor hours but cut long-term crack risk
- Valved systems with actuators add wiring and calibration time
- Dyno tuning after install adds a separate half-day session and a separate cost line
- Replacement hardware (gaskets, clamps, bolts) is cheap insurance against a comeback
The extra time is worth it when you’re after a system built to outlast a few winters, not just a weekend sound clip.
When to Hire a Professional Instead of DIY
Some jobs are not weekend-garage territory. Hand it to a shop when the work requires TIG welding on thin-wall stainless, when you’re dealing with active exhaust electronics and actuator wiring, when routing demands drivetrain removal, or when you keep getting exhaust-related codes you can’t chase down yourself.
Before you commit, ask the shop a few pointed questions:
- What welding method do they use on stainless, and do they mandrel bend?
- Have they fitted this exhaust on your specific model before?
- Do they pressure-test and confirm sealing before handoff?
- Do they offer dyno tuning or verification runs?
- What’s covered under warranty, parts and labor both?
A shop that hesitates on the pressure-test question is a shop worth skipping. Reputable fabricators treat leak testing as a standard final step, not an upsell. Our guide on why luxury exhaust requires specialist fitting covers what separates a careful installer from a shop that just wants the car off the lift.
Validating Your Gains: Dyno Testing and Common Tuning Traps
Run a baseline dyno pull before touching anything, then repeat the exact mounting and load conditions afterward. Comparing runs from two different dyno operators or two different days with different ambient temperatures gives you noise, not data.
Don’t expect huge horsepower jumps from a cat-back swap alone. Most of that gain lives further upstream. Watch your air-fuel readings closely, too. A sudden AFR swing after install is more likely an unnoticed leak near an oxygen sensor than an actual tuning issue. And remember that muffler choice affects tuned pressure-wave length, so swapping mufflers after a tune can quietly undo gains you worked to dial in.
Pro Tip: Log the same three or four dyno runs back to back without letting the car cool fully between them. Heat soak variance between runs is one of the most common reasons enthusiasts think they lost power when nothing actually changed.
What Repeat Comebacks Have in Common
Three mistakes bring cars back to the shop more than anything else: reused hardware, skipped leak tests, and hanger placement nobody double-checked. All three are five-minute fixes caught early and expensive comebacks caught late. The rule of thumb: if you didn’t pressure-test it, you don’t actually know it’s sealed.
A Valved Exhaust Built for Control, Not Guesswork
If you’re upgrading specifically to dial in sound and performance without the drone or actuator headaches described above, a valved system built for that job from the start beats retrofitting a workaround. Valvecontrolexhaust designs remote-controlled valved exhaust systems for Audi, BMW, Porsche, Mercedes-AMG, Ferrari, and Lamborghini platforms, with actuator alignment and sealing engineered into the fitment rather than left to chance.

You get adjustable exhaust notes on demand, model-specific compatibility, and fitting guidance that accounts for the same clearance and hanger issues covered above. Browse the valved performance exhaust buyer’s guide to see which system matches your car, or check the comparison of premium valved systems against other high-end options before you decide.
Frequently Asked Questions
What’s the most common exhaust upgrade mistake enthusiasts make?
Reusing old gaskets and hardware tops the list. It’s the fastest way to end up with a leak that trips a Check Engine Light within a few hundred miles of a fresh install.
Can the wrong pipe diameter actually hurt performance?
Yes. Oversized piping drops exhaust velocity and weakens scavenging, which often costs you low-end torque even though the car sounds louder.
How do I know if my exhaust upgrade has a leak?
Pressurize the system to no more than 5 PSI and brush soapy water on every joint. Bubbles mean a leak. A scan tool checking for codes tied to oxygen sensor readings is a good second check.
Do I need a dyno tune after an exhaust upgrade?
Not always, but a baseline and post-install dyno run under identical conditions is the only reliable way to confirm you gained anything instead of just changing the sound.
When should I hire a professional instead of doing an exhaust upgrade myself?
Hire a shop when the job needs TIG welding on stainless, involves valved exhaust actuators and wiring, or requires drivetrain removal for clearance.
Sources
- Top Mistakes in DIY Exhaust Installs: A Tuners Guide to Avoiding Catastrophic Fails – Stick Shifting
- Auto Exhaust Science – MotorTrend
- TECHNICAL SERVICE BULLETIN Various Concerns With The Active Exhaust System 22-2153
- Illuminated Malfunction Indicator Lamp (MIL) – Diagnostic Trouble Code (DTC) P013C – 2017-2018 Ford Edge/Lincoln MKX
- Engineerskill