
Exhaust valve motor testing is the process of evaluating both the sealing integrity and operational function of exhaust valves to confirm they are performing within spec. The term covers two distinct disciplines: leak-down testing for mechanical poppet valves and pressure-plus-actuator testing for electronically controlled valve motors found in modern performance systems. Exhaust valves operate in some of the harshest conditions in any engine, cycling through combustion gases at temperatures between 600°C and 800°C. A valve that fails to seal correctly bleeds combustion pressure, drops power, and can destroy itself within a short period of continued operation.
What is exhaust valve motor testing in mechanical engines?
Mechanical exhaust valve testing centers on the cylinder leak-down test, which is the most reliable method for quantifying valve sealing loss. The procedure pressurizes a cylinder with compressed air while the piston sits at top dead center (TDC), then measures how much of that pressure escapes. A healthy cylinder leaks less than 10%, while a reading above 25–30% confirms valve failure. That threshold matters because it separates normal ring and seal wear from a valve that can no longer contain combustion pressure.
The step-by-step leak-down procedure
- Bring the piston to TDC on the compression stroke. Both valves are closed at this position, which isolates the cylinder correctly.
- Connect a leak-down tester to the spark plug port and apply regulated shop air, typically at 100 PSI.
- Read the percentage of pressure loss on the tester gauge.
- Listen at the exhaust pipe, intake throttle body, and oil filler cap to localize where air is escaping.
- Confirm the crankshaft does not rotate during the test. Rotation means the piston was not at true TDC.
Hissing at the exhaust pipe points directly to an exhaust valve leak. Air escaping at the intake indicates an intake valve problem. Bubbling in the coolant reservoir suggests a head gasket breach. Each exit point tells a different diagnostic story.
A mechanic’s stethoscope placed near the exhaust port amplifies the hissing sound and helps pinpoint which cylinder is leaking when you are working on a multi-cylinder engine. A smoke machine fed into the exhaust system can also reveal leaks that are audible but hard to locate by ear alone. Both tools work alongside the leak-down tester rather than replacing it.
Pro Tip: Verify TDC with a piston position check before applying air pressure. An incorrect position can cause the crankshaft to spin suddenly, which risks injury and produces a false reading.
Common symptoms that mechanical testing confirms include rough idle, misfires on a specific cylinder, loss of power under load, and elevated fuel consumption. A compression test run before the leak-down test narrows the suspect cylinders and saves time.
How do you test electronic exhaust valve motors in performance vehicles?
Electronically controlled exhaust valve motors, the type used in variable valve exhaust systems on cars like BMW M-series, Ferrari, and Lamborghini models, require a different testing approach. Physical sealing still matters, but actuator function and signal response are equally critical. A valve that seals perfectly but responds slowly to the ECU command still degrades performance and sound control.
Pressure sealing test
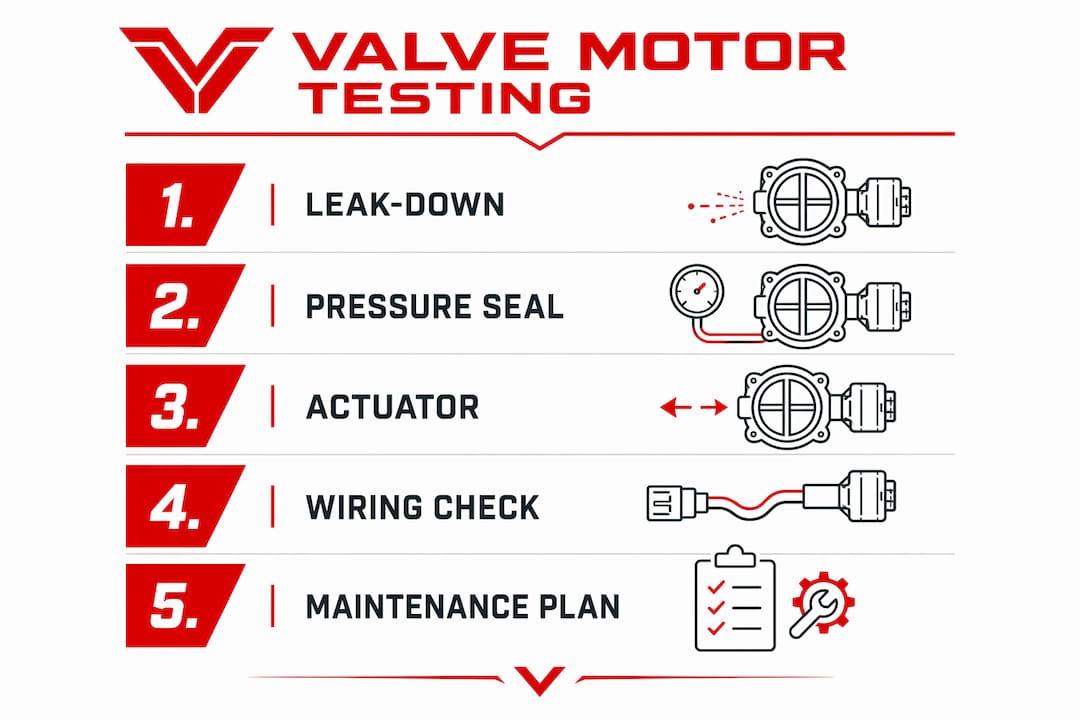
The sealing test for an electronic valve motor requires pressurizing the valve cavity to at least 1.5 times working pressure, with a minimum of 0.6 MPa. The valve must hold that pressure for five minutes with a maximum allowable drop of 0.05 MPa. Any drop beyond that threshold indicates a seal failure that will allow exhaust gases to bypass the valve at operating conditions.
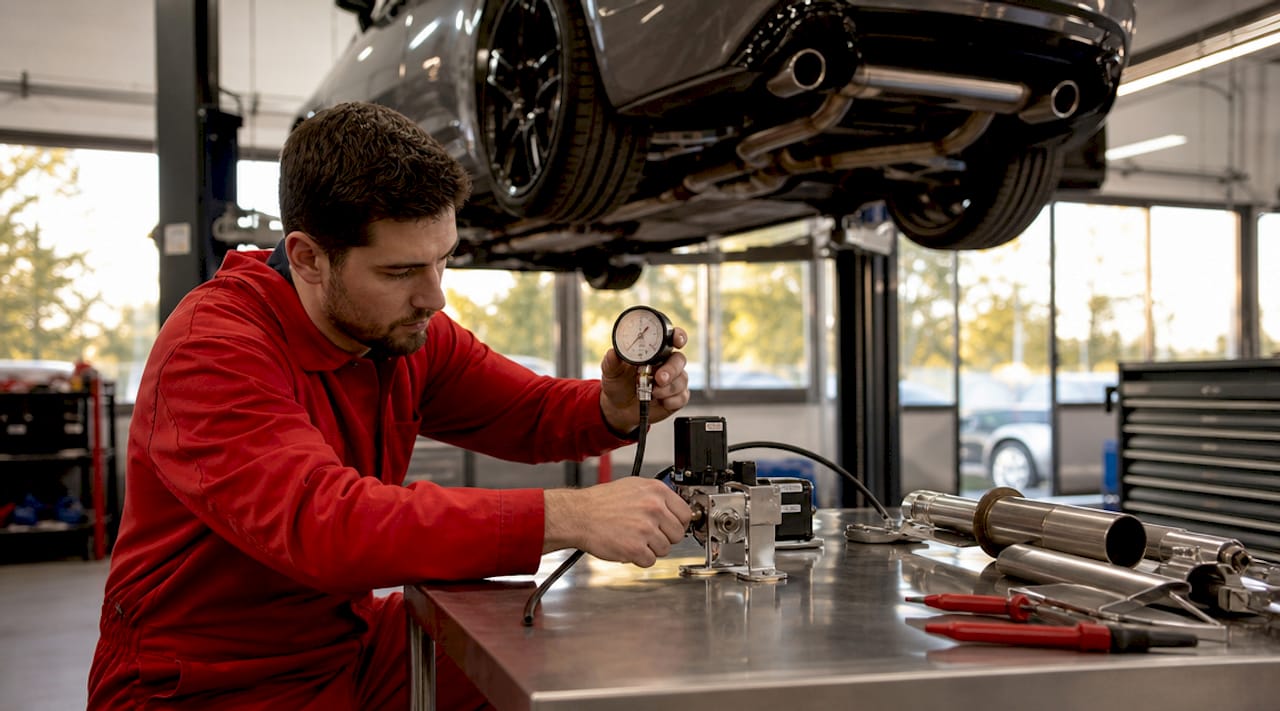
Actuator function test
Actuator testing measures the opening and closing pressures of the valve motor and verifies they fall within ±0.05 MPa tolerance. Flow detection tests then confirm the valve passes the correct volume of gas at each commanded position. These tests replicate real driving conditions and expose sluggish actuators, sticking mechanisms, or wiring faults that a pressure test alone would miss.
| Test type | Parameter | Pass threshold |
|---|---|---|
| Pressure sealing | Cavity pressure | Min. 0.6 MPa (1.5× working pressure) |
| Pressure hold | Drop over 5 minutes | Max. 0.05 MPa |
| Actuator opening/closing | Pressure tolerance | ±0.05 MPa |
| Flow detection | Gas volume at each position | Per manufacturer spec |
Pro Tip: When testing electronic valve motors, check the actuator wiring harness for corrosion and chafing before running pressure tests. A wiring fault can mimic actuator failure and send you down the wrong diagnostic path.
The key difference from mechanical testing is that electronic valve diagnostics require both a pressure gauge and an electrical signal source. Technicians working on performance-tuned vehicles must treat the valve motor as both a mechanical seal and an electromechanical device.
What are the signs and causes of exhaust valve failure?
Exhaust valve failure rarely happens without warning. The signs appear gradually, and testing reveals them before they become catastrophic. Recognizing the pattern early is the difference between a valve adjustment and a full cylinder head rebuild.
Primary causes
- Thermal overload. Exhaust valves run hotter than intake valves because they do not benefit from the cooling effect of incoming air-fuel mixture. Sustained temperatures above the valve’s design limit cause warping and burning.
- Lean fuel mixture. A lean condition raises combustion temperatures beyond normal limits. The exhaust valve absorbs that extra heat, and lean-induced burning is one of the most common causes of valve failure in performance engines.
- Poor heat dissipation. Carbon deposits on the valve stem or seat reduce heat transfer to the cylinder head. The valve retains heat it cannot shed, and the seat surface degrades.
- Valve stem seal wear. Worn stem seals allow oil into the combustion chamber. That oil burns and leaves carbon on the valve head, which prevents full seating and accelerates leakage.
- Ignition timing errors. Advanced timing increases peak combustion temperature and pressure. The exhaust valve opens into a hotter gas charge, which shortens its service life.
Symptoms to watch for
- Audible hissing from the exhaust pipe at idle, which indicates gas escaping past a seated valve
- Misfires on one or more cylinders, confirmed by OBD-II misfire codes
- Noticeable power loss under acceleration, especially at high RPM
- Rough idle that worsens when the engine reaches operating temperature
- Abnormal exhaust note, such as a popping or burbling sound not present before
Carbon buildup on exhaust valves often signals valve stem seal wear or excessive oil consumption. Chemical cleaning alone cannot restore performance if the stem seals are compromised. The valve must be inspected physically, and the seals replaced as part of any complete repair.
How do you interpret test results and plan maintenance?
Test results from a leak-down or pressure procedure are only useful if you act on them correctly. A reading between 10% and 25% leakage sits in a gray zone that calls for monitoring rather than immediate replacement. A reading above 25–30% demands action before the engine returns to service.
Reading the numbers
Leakage below 10% is normal for a healthy engine. Leakage between 10% and 20% suggests wear that warrants a follow-up test at the next service interval. Leakage above 25% confirms a failed valve, and the cylinder head must come off for inspection. For electronic valve motors, any pressure drop exceeding 0.05 MPa over five minutes is a clear fail, regardless of how the actuator performs.
| Leakage reading | Condition | Recommended action |
|---|---|---|
| Under 10% | Normal | Continue standard service intervals |
| 10%–25% | Moderate wear | Retest at next service, monitor symptoms |
| Above 25–30% | Valve failure | Remove cylinder head, inspect and replace |
| Pressure drop >0.05 MPa | Electronic seal failure | Replace valve motor seals or full unit |
Replacement alone does not solve the problem if the root cause remains. Addressing root causes like lean fuel mixture, ignition timing faults, or cooling system deficiencies is mandatory. A new valve installed into the same conditions that burned the original will fail again within a short period.
For performance vehicles, Valvecontrolexhaust recommends combining leak-down testing with a borescope inspection of the valve seat and face. The borescope reveals carbon deposits, pitting, and seat recession that a pressure number alone cannot describe. Maintenance intervals for high-performance engines should include valve inspection every 30,000–50,000 miles, or sooner if the vehicle sees track use.
Key Takeaways
Exhaust valve motor testing requires matching the right procedure to the valve type, interpreting leakage thresholds accurately, and fixing root causes before returning the engine to service.
| Point | Details |
|---|---|
| Leak-down threshold | Leakage above 25–30% confirms exhaust valve failure; below 10% is healthy. |
| Electronic valve sealing | Pressure must hold at 1.5× working pressure with a drop no greater than 0.05 MPa over five minutes. |
| Actuator tolerance | Opening and closing pressures must fall within ±0.05 MPa of specification. |
| Root cause repair | Replacing a burned valve without fixing lean mixture or timing faults causes rapid re-failure. |
| Maintenance frequency | High-performance engines need valve inspection every 30,000–50,000 miles, or after every track season. |
What I have learned from years of exhaust valve diagnostics
The most common mistake I see technicians make is treating the leak-down test as a pass-or-fail checkbox rather than a diagnostic starting point. A cylinder showing 18% leakage is not a healthy cylinder. It is a cylinder telling you something is changing, and if you file the result away without investigating the cause, you will be pulling that head within two service intervals.
The second mistake is skipping actuator testing on electronic valve motors. Technicians trained on traditional engines often run a pressure test, see an acceptable hold, and call the valve good. But a valve motor that opens 200 milliseconds late on a Ferrari V8 at 8,000 RPM is not good. It is degrading the exhaust scavenging pulse that the engine was tuned around, and the driver will feel it as a flat spot in the power curve before any fault code appears.
The borescope is underused in this context. Combining a leak-down test with a visual inspection of the valve face and seat gives you a complete picture in one session. You can see carbon bridging the seat, which explains a 15% leak that the numbers alone would not flag as urgent. That visual evidence changes the repair decision immediately.
For enthusiasts running Audi, BMW, or Lamborghini platforms with active exhaust systems, the practical advice is this: do not wait for a symptom. Test the valve system at every major service. The cost of a leak-down test is trivial compared to the cost of a cylinder head on a high-displacement performance engine.
— Info
Valvecontrolexhaust: expert resources for valved exhaust systems
Valvecontrolexhaust specializes in electronically controlled exhaust systems built for high-performance vehicles including Audi, BMW, Ferrari, and Lamborghini. Understanding valve motor testing is the foundation of keeping these systems performing at their best.

The Valvecontrolexhaust resource library covers everything from valve system maintenance to detailed comparisons of leading valved exhaust systems across the premium aftermarket. Whether you are diagnosing an existing system or selecting a new one, the guides are written for technicians and enthusiasts who want specifics, not generalities. Visit Valvecontrolexhaust to access the full catalog of technical content and product analysis.
FAQ
What is the difference between a leak-down test and a compression test?
A compression test measures peak cylinder pressure during cranking, while a leak-down test applies a known pressure and measures how fast it escapes. The leak-down test is more precise for diagnosing exhaust valve leaks because it identifies where the leak is occurring, not just that pressure is low.
What leakage percentage means an exhaust valve has failed?
A leakage reading above 25–30% during a cylinder leak-down test confirms exhaust valve failure. Healthy cylinders read below 10%.
How do you test an electronic exhaust valve motor?
Electronic exhaust valve motors require a pressure sealing test at 1.5 times working pressure and an actuator function test that verifies opening and closing pressures within ±0.05 MPa tolerance.
What causes exhaust valves to burn in performance engines?
Lean fuel mixtures, ignition timing errors, and poor heat dissipation are the primary causes. These conditions raise combustion temperatures beyond what the valve can handle, leading to warping and burning at the seat.
How often should exhaust valves be inspected on a high-performance vehicle?
High-performance engines benefit from valve inspection every 30,000–50,000 miles, or after every track season. Vehicles with active electronic exhaust systems should also include actuator function testing at each major service interval.